
.png)
How to Sew a Table Runner
- Babs Rudlin
- Dec 7, 2020
- 3 min read

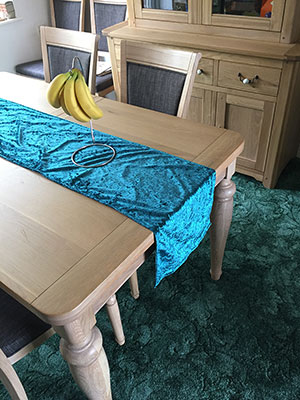
My parents recently bought a complete new set of dining room furniture and now need all sorts of new goodies to go with.
It’s one of the bonuses of buying new furniture – the excuse to replace all your soft furnishings and ornaments.
Dad asked me to make a new runner as a surprise for Mum, which I happily did and now that I have gifted her the item I can share the tutorial with you all.
First things first – You will need to measure up your table top.
Definitely get this right – don’t estimate things.
Measure the table top from end to end down the center of the table.
Make sure that if the table has a curve you measure where the runner will actually be used.
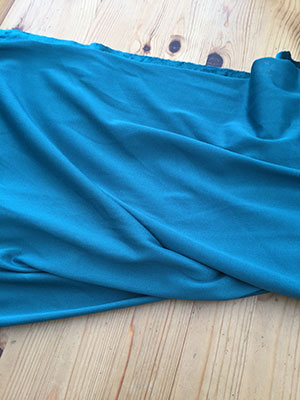
Now select your fabric.
I used a velveteen, as I know it matches the new look room and the fabric will not need any wadding for support.
You could of course add interfacing for added structure or wadding for a quilted effect. Both of these options I will cover in future tutorials but for now I’m keeping things simple.
Cut your fabric
You will need to have a strip of fabric at least 24″ wide, which when sewn will give you just under a foot wide table runner.
The length of the fabric will be 24″ longer than your measurement for the table top. This will allow just under a foot of loose end to give that true table runner look.
Please measure at least twice before you cut your fabric!
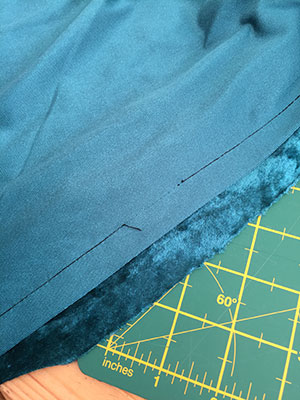
Now to pin or clip it all together, with right sides facing.
Take you time to ensure there is no twist as once sewn up this will be very ugly and a complete pain to fix.


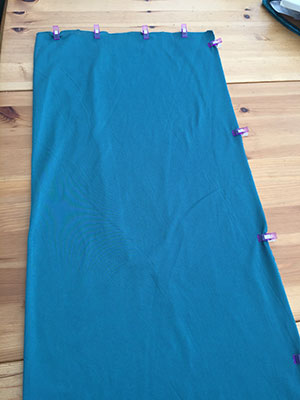
I’m using these plastic clips as the velveteen is likely to slide about and I don’t want to loose my pins. The clips work very well with this fabric and allowed me to sew it up without any major slippage.
I have used a 1/2″ seam allowance throughout.

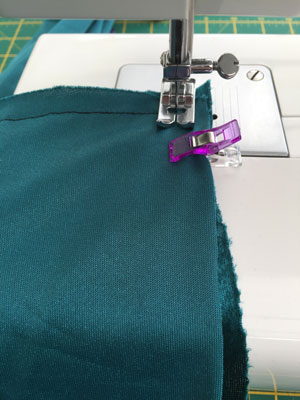

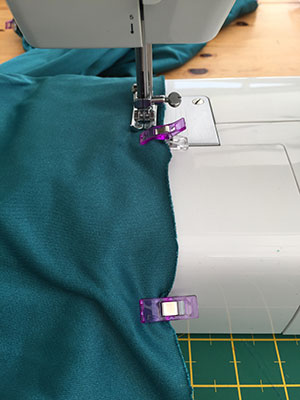
Remember to leave a 3″ to 4″ gap in the side seam to turn the runner the right way out.
Make sure to back stitch either side of the turning gap to give the stitches extra strength.


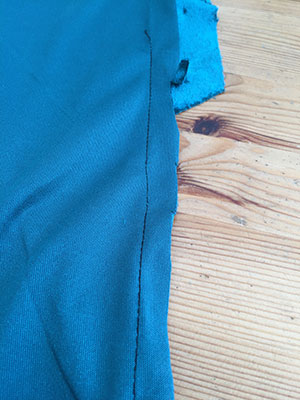
Trim away any excess fabric from the seam, to keep the table runner laying flat and smooth.
Make sure to leave at least 3/4″ by the turning gap so it can be sewn closed by the top stitch.
Clip the corners, being careful not to cut away any of your stitches.

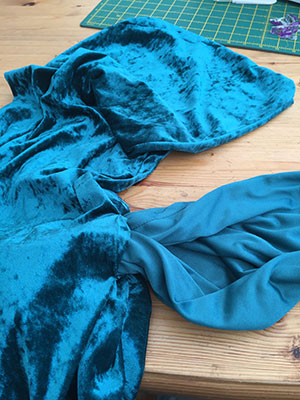
Once you have sewn all the way around, and have left your turning gap, you can begin the process of pulling the runner right side out.
This can be a pain when you start but becomes easier as you go along.

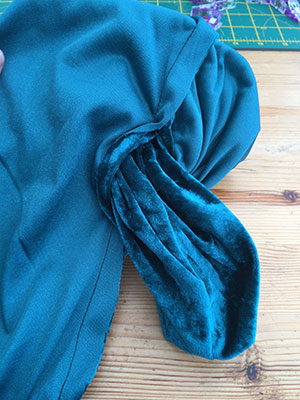

I used the end of my stitch ripper to push the corners into net points. You can use all sorts of things for this, chopsticks, drumsticks, pen lids all work well.
Pro Tip: Avoid anything with a point as it can stab through the fabric or worse cut the fabric!

Once everything is turned right side out and you have prodded your corners to shape you can start to top stitch. I used the width of my presser foot as a guide.
I used a longer stitch length of 3 for this section.


Remember that you will be sealing the turning gap with you top stitching, so double check that this has happened correctly.
Trim away any loose threads, not forgetting to back stitch at the start and end of the top stitching section to keep your threads secure.
Then you are all done!
Feel free to share any makes from this tutorial with the #babsgetscrafty
Stay Safe,
Babs x


As I am frequently asked which tools I use I have included a list of these at the end of the tutorial. Please note if you choose to buy anything from these affiliate links, there is no additional cost to you, however you will be supporting this site. For which I cannot thank you enough!
Products I used in this tutorial are listed below:
Quilting Clips : http://amzn.to/2qHvYCO
Singer Tradition Sewing Machine : http://amzn.to/2pIf6Ng
Cutting Mat : http://amzn.to/2q1stuT
Scissors : http://amzn.to/2pAyInT
Moon Threads : http://amzn.to/2q1aFzW


Comments