
.png)
Valentine Fabric Origami Candle Mat - Part 3
- Babs Rudlin
- Dec 8, 2020
- 2 min read

By now you should have a set of squares, top stitched and all marked up using your template.
If not you should hop over to Part 1 and Part 2 for all the details on what you need and how to get here.
Now for the fun part…
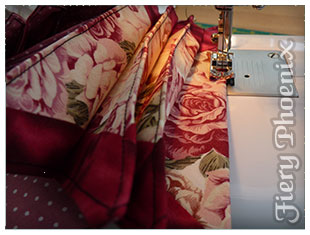
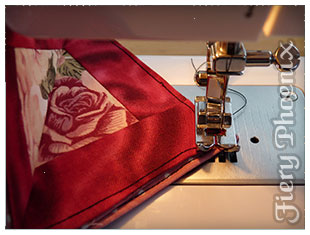
Pair up the squares, top side to top side, and sew along the marked stitch lines.
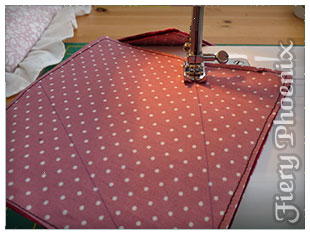
This will join up all 12 petals and the mat should lay flat.
To give the petals their delicate curves we will sew a top stitched spine through the centre of each panel.
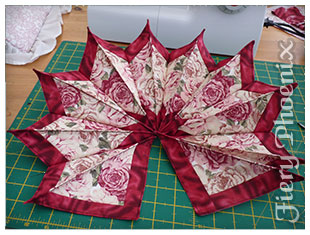
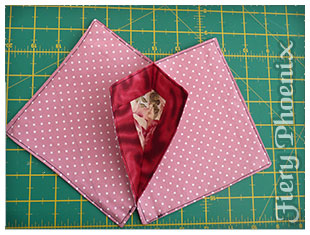
Now on the final stage of sewing the tips of the petals together
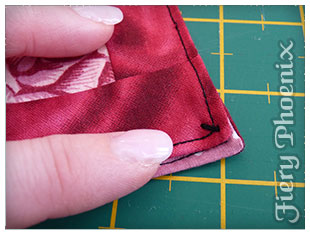
Take the edges of the panel and draw them together across the centre of the base
Pin all 12 to make sure you have them meeting correctly. This will give you a good idea of how the final mat will look
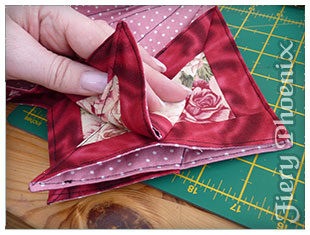
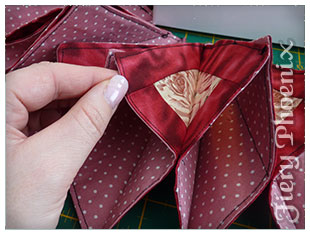

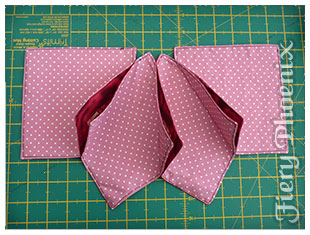
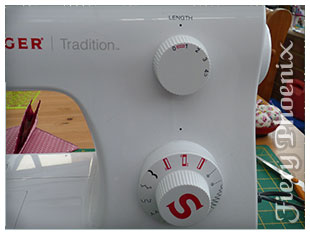
I use the button hole stitch set with a stitch length of 0 and using step 2 to join the petals together
You can now opt to embellish with buttons, hearts, flower buds or anything of your choice to hide the thicker button hole stitching.

If any of this process is unclear please take a look at the video below to see me working through the entire make from start to finish.
The Video Tutorial is below, please excuse my very sore throat in the video.
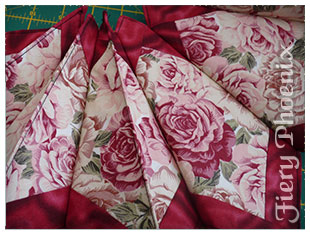
That’s it for the basic versions of the Fabric Origami Candle Mat. As I mentioned before you can add embellishments, buttons, bows, ribbons, sequins and more to pretty the mat up. You can also make a quilted version using wadding and binding once you have quilted the panels together.
Please feel free to share this pattern and post your photos of any mats you make with the hashtag #babsgetscrafty. As for the video walking you through the process, feel free to share that too 😉
I hope you enjoy this make!
Babs

Comments